
“We are a participant in the Amazon Services LLC Associates Program, an affiliate advertising program designed to provide a means for us to earn fees by linking to Amazon.com and affiliated sites.””
Basic Anatomy
I have seen so many examples of fixed solar panels propped against an existing structure in an attempt to direct them toward the Sun. What I have not seen much written about are small, light-weight and portable solar tracking units. Why? Why would you spend several hundred dollars for something that is not being fully utilized? I would liken it to running a marathon with sandals. There are a number of outstanding products that already exist that just need to be introduced to one another. Follow this link for the complete build: https://www.instructables.com/id/Portable-Solar-Auto-Tracking-System
Consumer meet aluminum T-slot extrusion. The adult tinker toy. I have used it to build several prototypes and I have even used it for the final product, it has served me well. While you get aquainted with your new friend I would like to mention that there exists a very simple and affordable solar tracker that you should also get to know. A wonderful product and the secret ingredient for making a descent tracker. You need to move the solar panel on the mount, that is where the linear actuator comes in, you might as well add them to your group of friends. For this particular build you do not need a very powerful actuator. The stoke only needs to be about 12″ long, doing this eliminates the need for limit switches because you simply adjust the position of the actuator so that it can move the full arc. The internal limit switches will stop it. As for the Solar Panel you can’t go wrong with Renogy’s line of panels. They are very quick to ship and the prices are good.
Electronics
The electronics consist of a charge controller and the solar tracker. The tracker needs to be powered by a 12v dc source, this is provided by the battery that you will be charging. You can either place the battery near the solar mount and connect them with quick-connects, or you can run a long section of heavy wire. I would advise against the latter. It will be expensive and the resistance drop in a 12v dc system is enormous. Simply purchase a portable battery box with has charge status indicator and external connectors. You could save a step and purchase a complete power pack that you can just connect directly to and more importantly it is portable.
Assembly
Of all of the portable solar tracking systems I have built in the past this is by far the lightest and easiest to put together. It only weighs about 25 pounds, is easily assembled in minutes, wheeled into position and it can be stored flat.
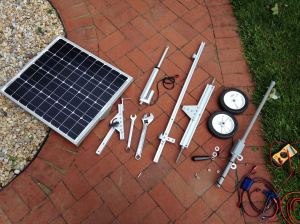
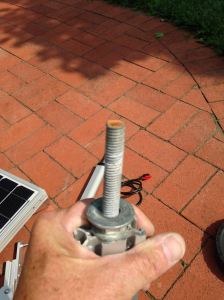
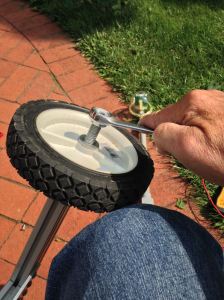
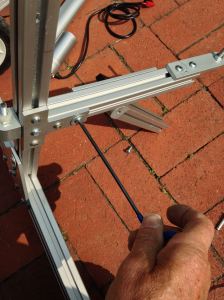
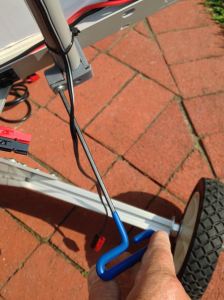
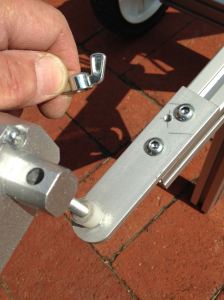
The mount is constructed of aluminum T-slot extrusion that is put together with a T-wrench. A length of 1/2-20 all thread is passed through the body of the bottom extrusion and the wheels are attached with a box wrench using lock-nuts.

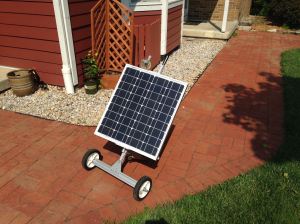
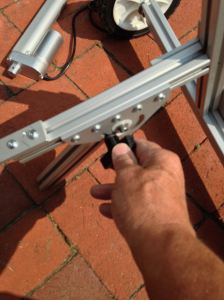
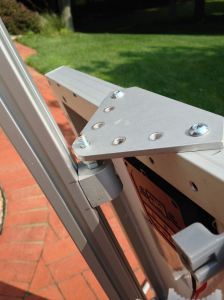
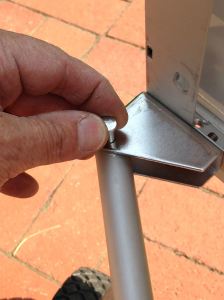
The base is a “T” configuration to create a three point base. A pivot bracket with a turn-knob provides the inclination adjustment. The Solar Panel is equipped with a top and bottom bracket for mounting, this allows the panel to pivot on it’s own axis.
With the solar panel mounted, install the solar tracker on the right side of the panel as shown. It is secured in-place with conduit clamps on the top and bottom.
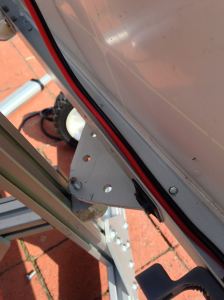
The actuator mounts on top connecting the solar panel with the actuator bracket.

Wiring Connection
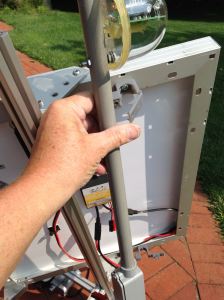
All of the connections are made with Anderson Connectors, they connect the Solar Panel, Charge Controller & Linear Actuator. The solar tracker requires 12v dc power to work. This is provided by the same storage battery that you will be charging. This will either need to be placed near the mount or connected with a long section of heavy wire to a remote location. That is another reason to avoid a lead acid battery, the weight of this battery will make it awkward to carry while wheeling the mount. One solution is one of the portable power packs with LiFePO4 batteries. The actuator bolts in-place on the top.
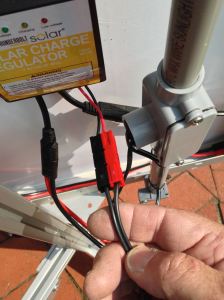
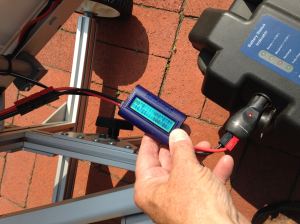
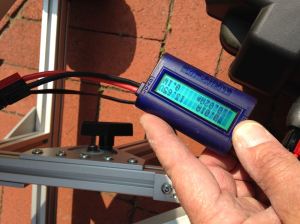
The final step is to connect the storage battery to the system. The 12v dc power feeds the solar tracker, which in turn drives the actuator East and West. The 12v dc power also powers the Charge Controller which directs power to the storage battery as needed. The Charge Controller is also connected to the Solar Panel which provides the DC power to charge the battery.
Operation
When the Sun rises in the East the solar tracker will produce an output to the actuator which will cause the panel to pivot on it’s axis. The actuator will continue to move until it is aligned with the Sun. This process will repeat itself until the Sun sets in the West. If clouds should block out the Sun the solar tracker will detect it as soon as it reappears.
The mount can be modified to accept a 100 watt solar panel.
